Difference between revisions of "Quick Start Guide/Configuration"
(first version) |
|||
| Line 49: | Line 49: | ||
[[Quick_Start_Guide/Preparation | previous step]] | [[Quick_Start_Guide/Flashing | next step]] | [[Quick_Start_Guide/Preparation | previous step]] | [[Quick_Start_Guide/Flashing | next step]] | ||
| + | |||
| + | |||
| + | [[Category:Ethersex]] | ||
| + | [[Category:Quick Start Guide]] | ||
| + | [[Category:StepByStep]] | ||
Revision as of 07:55, 18 July 2013
After installing the required software and cloning the repository, cd to the root directory of ethersex.
General Settings
Type
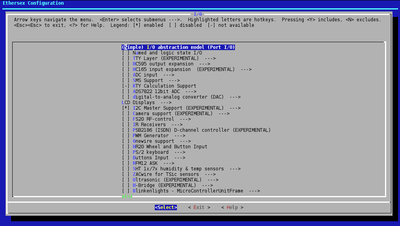
make menuconfig
to start the text-based configuration UI of ethersex. Select the default configuration by selecting (enter).
Load a Default Configuration --->
Now select for example
Pollin AVR Net-IO
Back in the main menu, enter
General Setup --->
and select your Target MCU followed by the MCU frequency in Hz
Go back to the main menu and enter the
Network --->
menu. Select
Ethernet (ENC28J60) support --->
and enter the MAC address Now adjust the IP address and Netmask for your network.
Exit this menu as well as the Network menu. Hit the < Exit > button once again and select < Yes > to save your config.
Compiling
Run
make
to start the build process. This will only take a few seconds. If everything went well, which means you see something like this...
=======The ethersex project========
Compiled for: atmega644p at 20000000Hz
Imagesize: 36057/65536 bytes (55.02%)
  [================--------------]

Program (.text + .data) : 28098 bytes
Data (.data + .bss)     :  1698 bytes

===================================
...you are ready to flash the firmware to your board!
