Difference between revisions of "Quick Start Guide/Flashing"
(→Requirements) |
(→Writing the Bytes) |
||
| Line 30: | Line 30: | ||
* Disconnect the power and the programmer from the Net-IO | * Disconnect the power and the programmer from the Net-IO | ||
* Reconnect the power, your Net-IO should boot up with ethersex | * Reconnect the power, your Net-IO should boot up with ethersex | ||
| + | |||
| + | = AVRDUDE and menuconfig = | ||
| + | |||
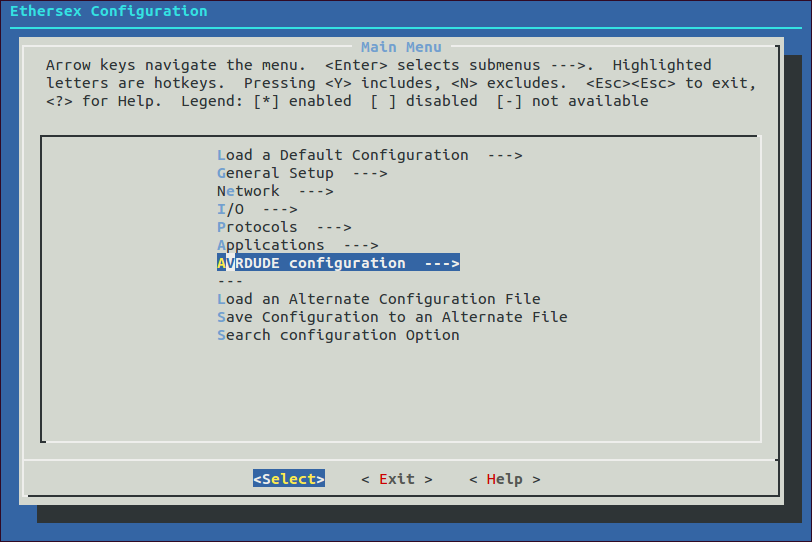
| + | == AVRDUDE Configuration == | ||
| + | |||
| + | [[File:avrdude_mainmenu.png]] | ||
| + | |||
| + | == AVR Fuses == | ||
[[Quick_Start_Guide/Configuration | previous step]] | | [[Quick_Start_Guide/Configuration | previous step]] | | ||
Revision as of 22:05, 15 July 2013
Contents
Requirements
- the previously selected board, e.g. AVR NET-IO, ready built and (hopefully) tested
- an ISP-Programmer of your choice supported by avrdude
- ISP connector cable
Flashing with avrdude
Avrdude offers several options. We will look on the most important, to make basic flashing of ethersex possible.
- The chip you use, should be m32 for the ATMega32 in most cases: -p m32
- Debug messages: -v
- The protocol spoken with the programmer, for the Evaluation-Board: -c ponyser
- The serial port the programmer is connected to: -P /dev/ttyS0
- The command you want to execute: -U flash:w:ethersex.hex
After you checked all options and adjusted them to your settings you should have a command like this:
avrdude -v -p m32 -c ponyser -P /dev/ttyS0 -U flash:w:ethersex.hex
Writing the Bytes
- Disconnect the power from the NET-IO
- Connect your ISP cable to the programmer and the Net-IO
- Reconnect the power and connect your programmer to the PC
- Execute the command you assembled earlier
- Congratulations! If avrdude finished without any error you successfully flashed ethersex to your Net-IO!
- Disconnect the power and the programmer from the Net-IO
- Reconnect the power, your Net-IO should boot up with ethersex
